
How to Create a Minecraft Server on Proxmox in an LXC with MCSManager
This guide walks you through setting up a Minecraft server in a Proxmox LXC container, using OpenJDK 21 (manually installed) for compatibility and MCSManager for easy server management. Proxmox LXC containers are lightweight and efficient, ideal for hosting Minecraft servers. MCSManager provides a web-based interface to simplify server administration. Visual aids are suggested to enhance key steps.
Estimated setup time: 10-15 minutes
Prerequisites
- Proxmox VE Server: Version 8.0 or later recommended.
- System Resources: Minimum 4GB RAM and 2 CPU cores for the LXC container (8GB+ for 10+ players).
- Linux Knowledge: Basic familiarity with Linux command-line.
- Network Access: Internet connectivity and a static IP or DHCP reservation for the container.
- Storage: At least 15GB disk space for the OS, Minecraft, and MCSManager.
Step 1: Create an LXC Container for Your Minecraft Server on Proxmox
- Access Proxmox Web Interface
- Open
https://<proxmox-ip>:8006in your browser and log in.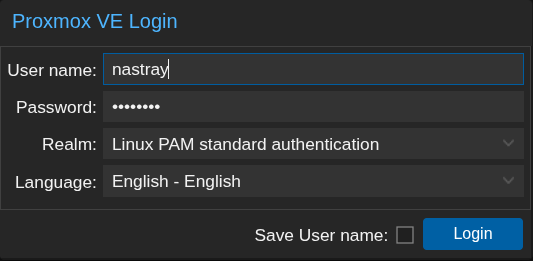
- Download a Container Template
- Navigate to
Datacenter > <Your Node> > Storage > CT Templates. - Click
Templates, select Debian 12, and clickDownload.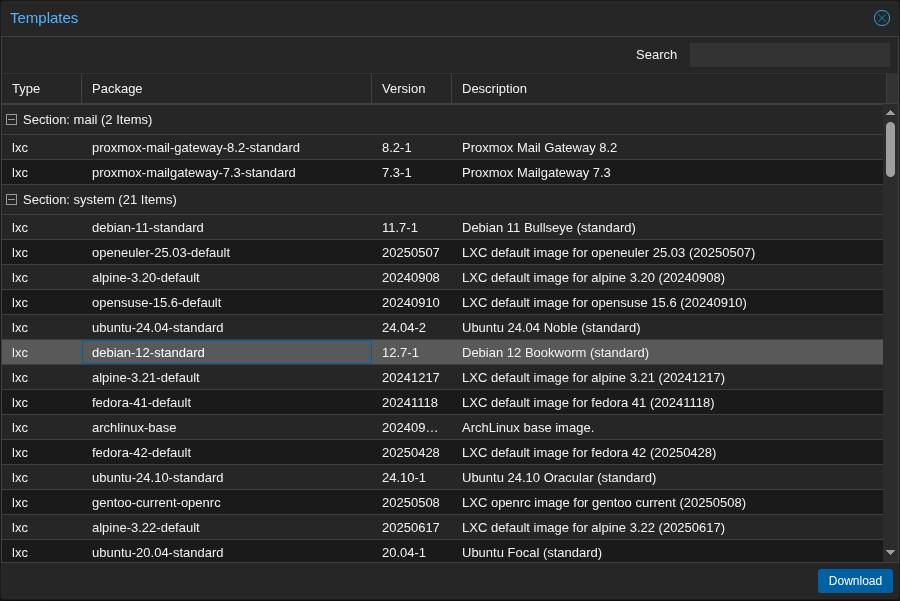
- Create the LXC Container
- Go to
Datacenter > <Your Node>and clickCreate CT. - Configure:
- Hostname:
minecraft-server. - Template: Ubuntu 22.04.
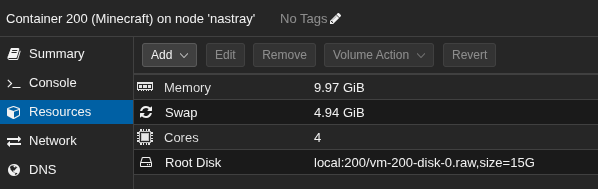
- Disk: 15GB minimum.
- CPU: 2-4 cores.
- Memory: 4096MB (4GB) or higher.
- Network: Static IP or DHCP reservation.
- Root Password: Set a strong password.
- Hostname:
- Click
Confirmto create.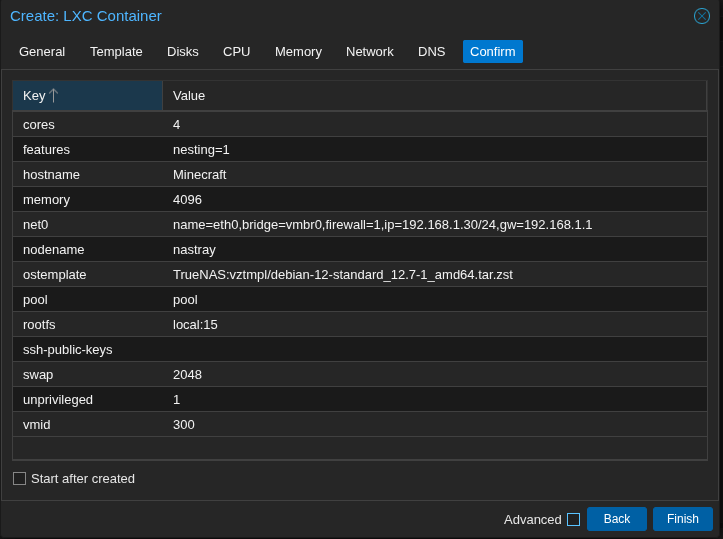
- Start and Access the Container
- Select the container in the Proxmox UI and click
Start. - Access via the Proxmox console or SSH:
ssh root@<container-ip>.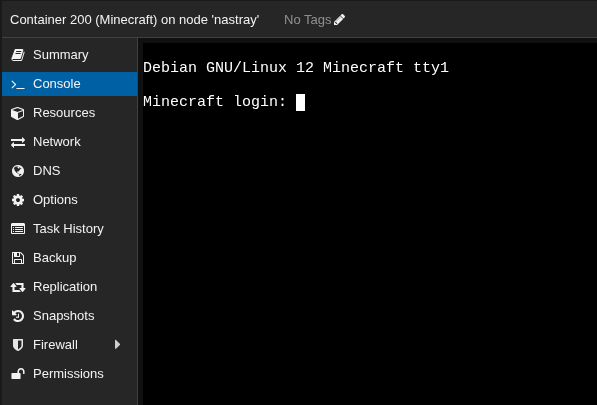
Step 2: Install OpenJDK 21 for Minecraft Server Proxmox Setup
Minecraft requires Java, and OpenJDK 21 is a long-term support version compatible with Minecraft 1.21+. We’ll install it manually to ensure the correct version.
- Update the System
- As the root user, update the package list and upgrade:
apt update
apt upgrade
- Download OpenJDK 21
- Download the OpenJDK 21 tarball:
wget https://download.java.net/java/GA/jdk21/fd2272bbf8e04c3dbaee13770090416c/35/GPL/openjdk-21_linux-x64_bin.tar.gz
- Extract and Install
- Create a directory for Java and extract the tarball:
mkdir -p /opt/jdk
tar -xzf openjdk-21.0.2_linux-x64_bin.tar.gz -C /opt/jdk
- Update PATH
- Add Java to the system PATH for all users:
echo 'export PATH=/opt/jdk/jdk-21.0.2/bin:$PATH' >> /etc/profile
     source /etc/profile
- Verify Java Installation
- Check the Java version:
java -version
- Expected output:
openjdk version “21” 2023-09-19
OpenJDK Runtime Environment (build 21+35-2513)
OpenJDK 64-Bit Server VM (build 21+35-2513, mixed mode, sharing)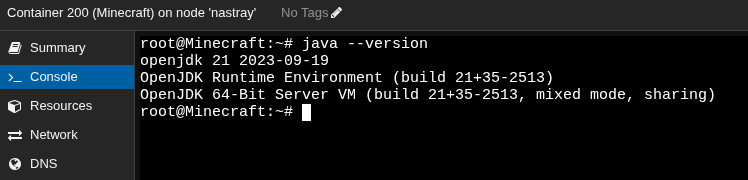
Step 3: Install MCSManager with Non-Root User
- Create a Non-Root User
- Create a dedicated user (
minecraft) for running MCSManager and the Minecraft server:
 adduser --disabled-password --gecos "" minecraft
usermod -d /home/minecraft minecraft
mkdir -p /home/minecraft
chown minecraft:minecraft /home/minecraft
- Install Dependencies as Root
- Install curl and Node.js:
apt install -y curl
curl -fsSL https://deb.nodesource.com/setup_18.x | bash -
apt install -y nodejs
- Switch to the Non-Root User
- Switch to the
minecraftuser:
su - minecraft
- Install MCSManager Using the Install Script
- Run the official MCSManager install script:
<code>curl -L https://raw.githubusercontent.com/MCSManager/MCSManager/master/install.sh | bash</code>
- This installs MCSManager in
/home/minecraft/mcsmanager.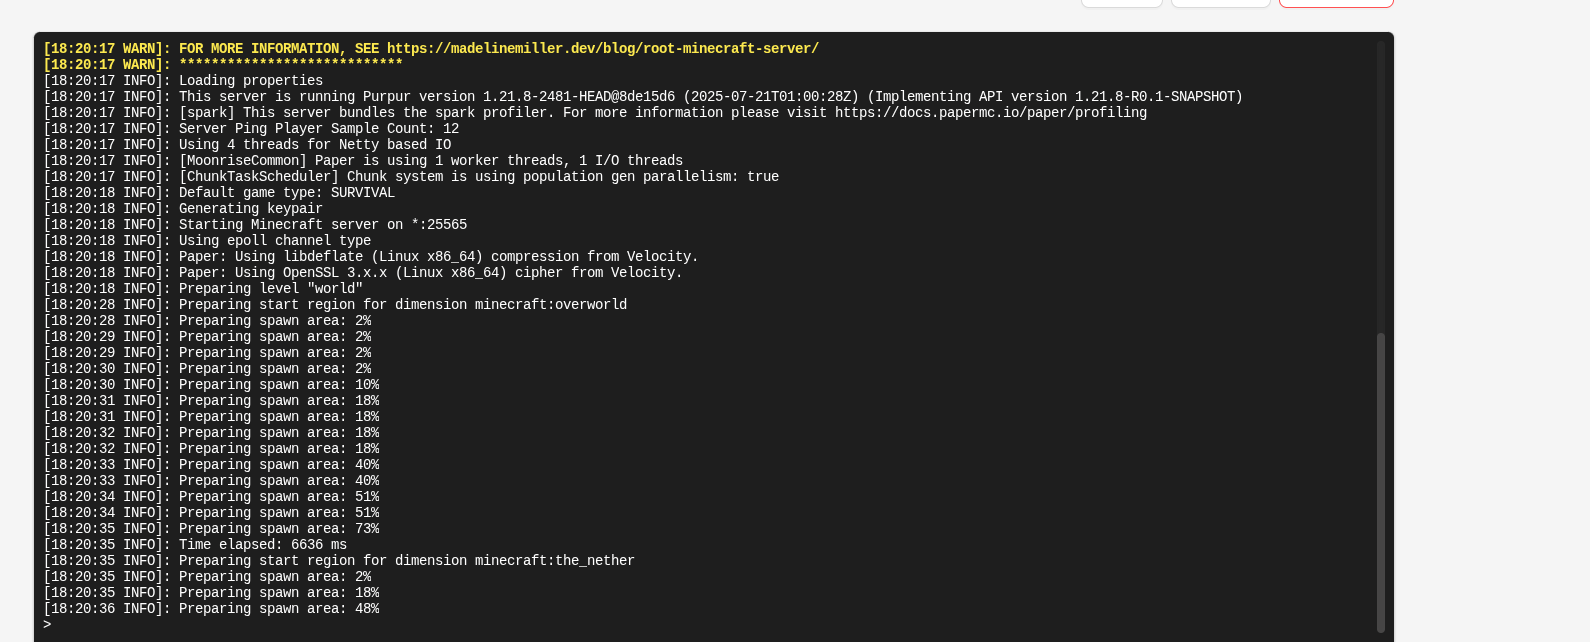
- Start MCSManager
- Start MCSManager:
cd /home/minecraft/mcsmanager node app.js
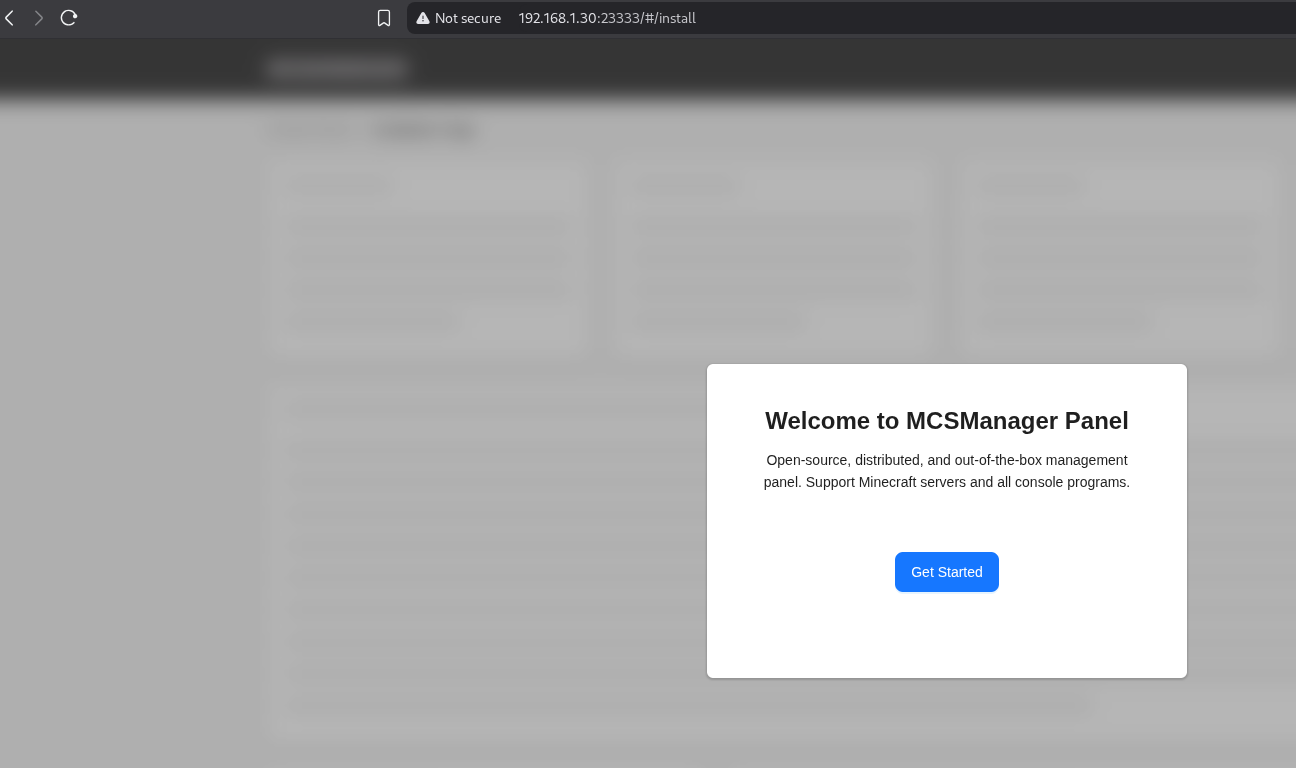
- Access the web panel at
http://<container-ip>:23333. - Set admin user and password to access the MCSManagers WebUI
Step 4: Configure Your Minecraft Server on Proxmox with MCSManager
- Log in to MCSManager
- Open
http://<container-ip>:23333and log in.
- Create a Minecraft Server Instance
- Navigate to
Instances > Create Instance. - Choose
- Type: Minecraft Server (Java)
- Location: localhost
- Deployment: Quick
- Version: Minecraft 1.21.8 (or latest)
- Name your server and click Install
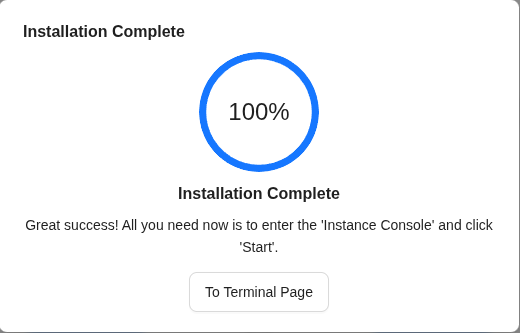
Start the Server
- Navigate to the Terminal tab
- Click Start
- You’ll see an error:
Failed to load eula.txt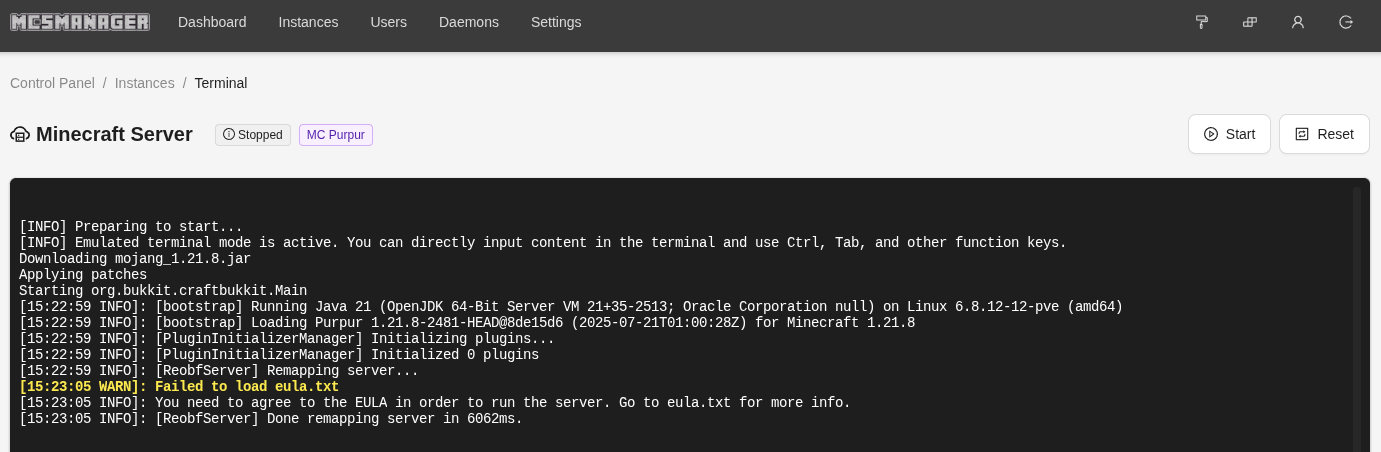
- Accept the EULA
- Go to Configuration Files
- Edit eula.txt and set it to yes
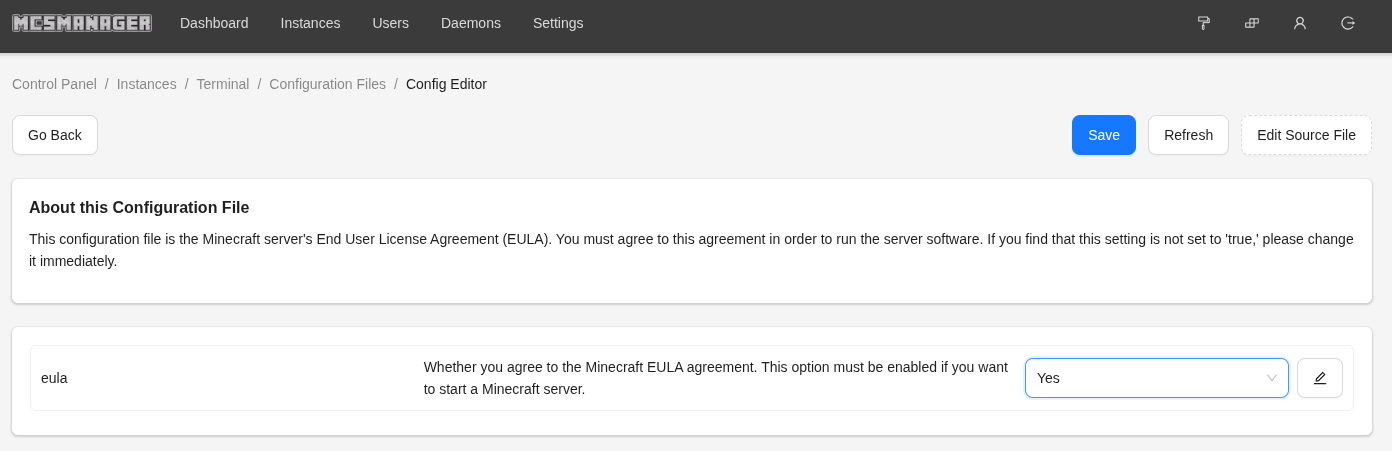
- Save the file and return to the terminal
- Start the server again
- Configure server.properties
- In MCSManager’s
File Managementtab, editserver.properties:motd=A Minecraft Serverdifficulty=easypvp=trueserver-port=25565
- Save and restart the instance.

Step 5: Optimize the LXC Container
- Enable Nested Virtualization (Optional)
- If performance issues occur:
 echo "options kvm-intel nested=Y" >> /etc/modprobe.d/kvm-intel.conf
modprobe -r kvm_intel
modprobe kvm_intel
- Increase Container Resources (Optional)
- Adjust CPU/memory in Proxmox UI if lag occurs.
Step 6: Network Configuration
- Open Firewall Ports
- Open ports
25565(Minecraft) and23333(MCSManager):ufw allow 25565 ufw allow 23333
- On the Proxmox host:
iptables -A INPUT -p tcp --dport 25565 -j ACCEPT iptables -A INPUT -p tcp --dport 23333 -j ACCEPT
- Test Connectivity
- Connect to
<container-ip>:25565in Minecraft. - Access MCSManager at
http://<container-ip>:23333.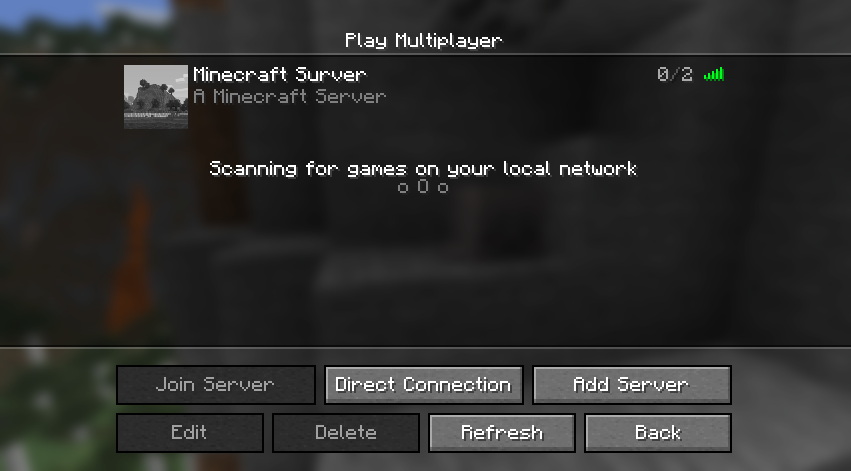
Step 7: Backup and Maintenance
- Backup the Server
- Back up the
minecraftuser’s directories:tar -czf /opt/backup-$(date +%F).tar.gz /home/minecraft
- Monitor Performance
- Install and use
htop:apt install -y htop
- Run
htopto monitor resources.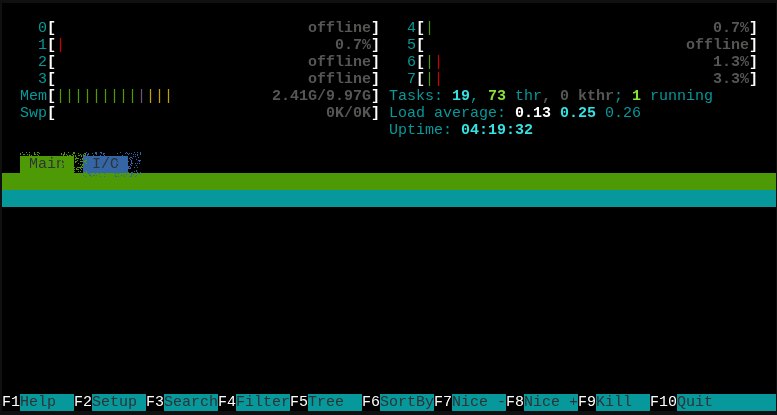
- Update MCSManager and Minecraft
- Check for MCSManager updates on GitHub.
- Update
server.jarvia MCSManager’s file management.
Troubleshooting
- Java Errors: Verify Java path (
/opt/jdk/jdk-21/bin/java) and version (java -version). - Port Conflicts: Check with
netstat -tuln. - Performance Issues: Increase resources in Proxmox or reduce player slots.
- MCSManager Access: Verify service status (
systemctl status mcsmanager) and port23333.
Conclusion
You’ve set up a secure Minecraft server in a Proxmox LXC container with OpenJDK 21 and MCSManager, running as a non-root user.
Happy gaming!
Related Posts